Quick answer: to make a professional product grid, place your product photos in a rows-and-columns layout with the same background, the same framing and equal spacing, then export in high resolution. With a tool like Grider you do this in minutes, with no design skills. Here's the step-by-step.
What a product grid is (and why it sells)
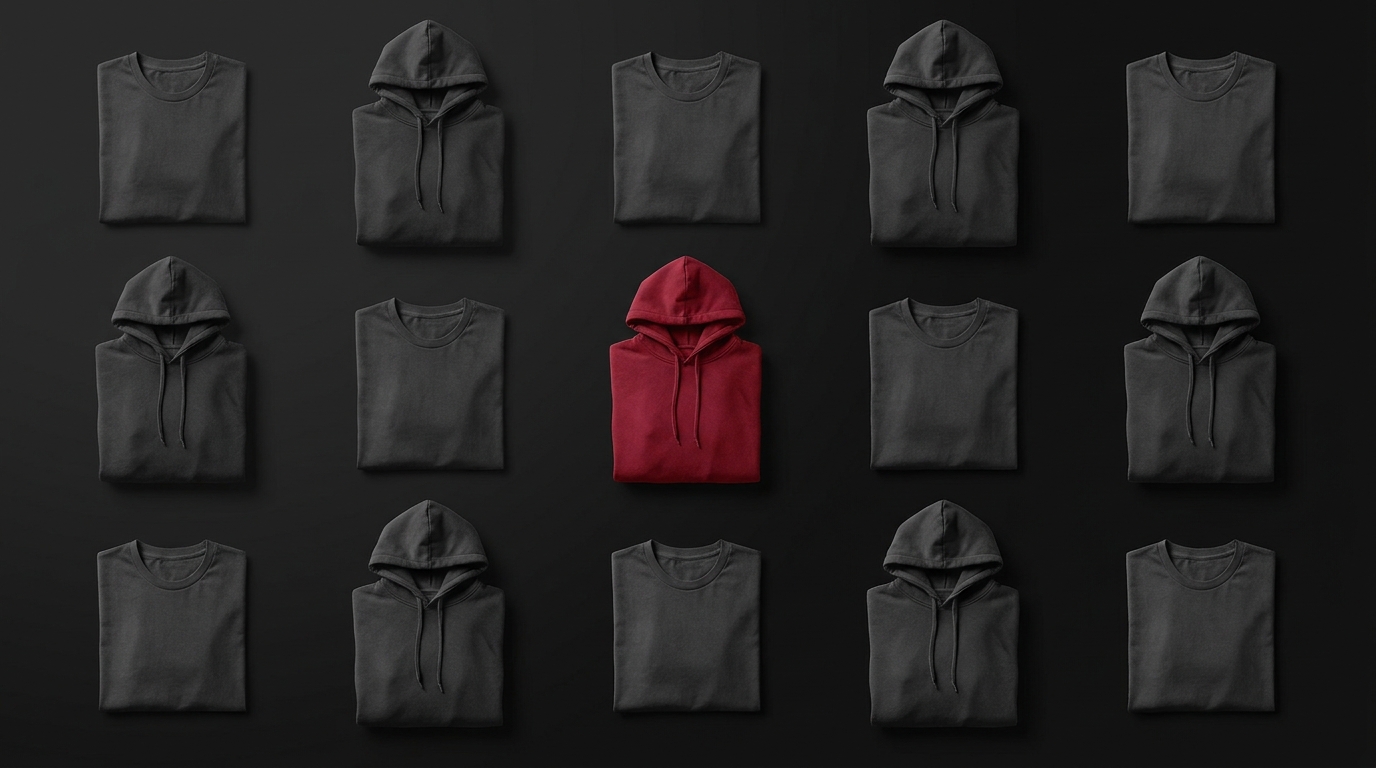
A product grid presents your pieces together, arranged in rows and columns. Customers stop seeing scattered photos and start seeing a cohesive collection — and that builds trust. It's the format behind the best clothing-brand catalogues, Instagram feeds and lookbooks.
The 3 mistakes that make a grid look amateur
- Different backgrounds. One piece on white, another grey, another with a shadow. Pick one background and apply it to all.
- Uneven framing. Each product fills a different share of the square. Keep the same relative size.
- Irregular spacing. Eyeballed margins and gaps kill the sense of order. Use the same spacing across the whole grid.
How to make a product grid, step by step
- Gather the pieces, already cut out with the final background.
- Set the format for the destination: square for the catalogue, 4:5 for the feed, 9:16 for Stories.
- Choose the number of columns (3 is the classic) and keep every piece the same size.
- Order them for readability — related pieces sit close; alternate colors for rhythm.
- Export in high resolution, without losing quality.
How Grider solves this
Doing this by hand in Photoshop is slow and assumes you know the tool. Grider is a browser editor built for it:
- Load your pieces — drag your PNGs or JPGs in, all at once.
- Pick a grid model and format (catalogue, 4:5 feed, 9:16 Stories).
- Drag to reorder — rearrange until it reads cleanly, with spacing always equal.
- Export in HD — PNG or JPG, no watermark.
It's free, runs in the browser, and your images never leave your device.
Got the photos? Then you're one step away. Open Grider and make your product grid now →